When it comes to nail designs, I would consider myself a very detailed person. (๑•̀ㅂ•́)و I usually tend to go for designs that are more complicated than some, but some days I feel lazy and don't want to put that much effort of my nails. That being said, I'm here to share with you, a simple, yet cute nail design that looks cool and complicated, but in reality, it's easy.
Today, I shall show you how to create a salted manicure, making your nails look cool, without that much effort.
For this design, you can pick any colour(s) you want, you can mix and match or stick with one colour. The last time I did this design, I did a pastel coloured theme, but for this one I'm going to stick with one colour.
Getting into the TuToRiAl...!
2) After waiting for the base coat to dry, the next step to do is apply one coat of the nail color(s) of your choosing, make sure to wait for the coat to dry, before heading onto the next step.
3) Once the first coat of nail polish is completely dried, this is the time you want to add a second coating.
For this design, you can pick any colour(s) you want, you can mix and match or stick with one colour. The last time I did this design, I did a pastel coloured theme, but for this one I'm going to stick with one colour.
 |
| The required products. |
♢ What I used ♢
-NYC Long Wearing Nail Enamel in 147 Lexington Lilac
-Island Girl Top/base coat
-Salt
Getting into the TuToRiAl...!
 |
| Never skip out on applying base coat! |
1) The very first step and for every nail tutorial, is to apply a base coat on your nail plates. By doing so, you can provide protection from the chemicals nail polish have and to keep your nails looking clean and nice, once the polish is taken off.
 |
| One coat of the nail polish. |
3) Once the first coat of nail polish is completely dried, this is the time you want to add a second coating.
 |
| Cool nail effect by adding salt. |
4) Before the second coat dries up, this is when you want to sprinkle salt all over your nails. To ensure the salt particle stays, gently press against it on the nail. You can easily shake off the excess salt if it gets in the way.
5) Finally, after you complete all the steps, finish off by applying a top coat. For me, I had to apply 2 top coats, to get everything covered.
The end ReSuLtS!!!


Let's Get Naked
-Not too long ago, I purchased Urban Decay's Naked Foundation in shade 3 from Sephora.


 Spend the Day with Me!
(AKA Places of Vancouver)
Last week, was the first week of summer school for my college and since I'm not taking any courses, I decided to volunteer as an information guide for new students and tell them where to go and what do if they had questions.
This went on for the first two days of the week and while the first day was pretty busy, on the second day only 2 people came up and that was it.
I really didn't have anything to do after volunteer, so I made plans with one of my old high school friend and we went to the Vancouver Aquarium for fun and nostalgia.
-Not too long ago, I purchased Urban Decay's Naked Foundation in shade 3 from Sephora.

-What I like about this foundation is that feels absolutely weightless, just as advertised.

-Even with a pump, I was still given enough foundation to cover a large area of my skin.

-Spreading and applying the foundation around, was very smooth-like, which is great!
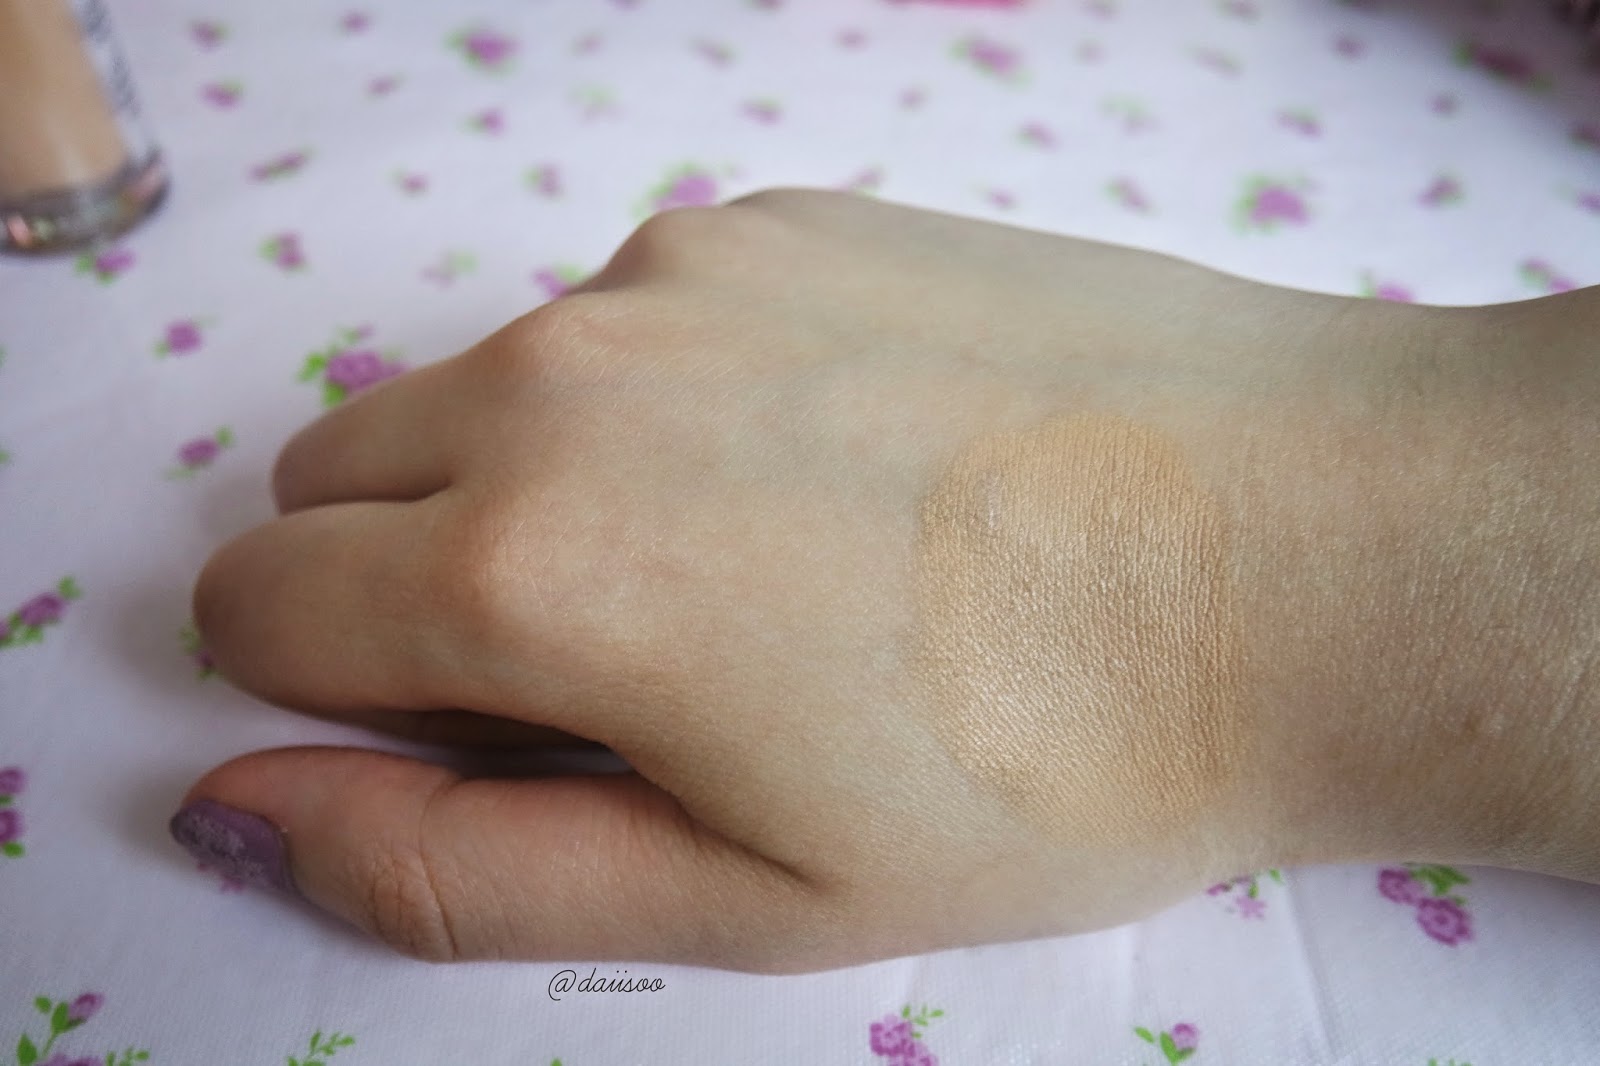
Overall, when it comes to foundation, I'm the type to spend a little more than other makeup products. I really like the Urban Decay Naked foundation and I have no problem, in the future, buying it again.

(AKA Places of Vancouver)
Last week, was the first week of summer school for my college and since I'm not taking any courses, I decided to volunteer as an information guide for new students and tell them where to go and what do if they had questions.
This went on for the first two days of the week and while the first day was pretty busy, on the second day only 2 people came up and that was it.
I really didn't have anything to do after volunteer, so I made plans with one of my old high school friend and we went to the Vancouver Aquarium for fun and nostalgia.
So before heading to the aquarium, I made my friend take a picture of my outfit of the day, since the scenery at Stanley Park is very pretty.
(On a side note: SHOUTOUT to my friends for putting up with my eccentric ways, especially when it comes to dealing with outfit pictures).
 |
| The outfit I wore to the aquarium! |
{I'm not too of a huge fan of plaid, but when I saw this dress at Forever 21, I thought it was too adorable to pass up, so I bought it.
Also from Forever 21, are the laced flats. They're very comfortable and can be easily be matched with anything, same goes for the heart necklace (if you want to see a closer picture of the necklace, check out my previous post).
The cardigan at the moment is my favourite piece, I believe I got it from American Eagle and the belt is from Urban Planet.}

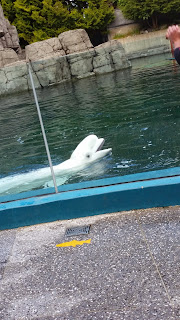
○The Aquarium Life○
[So, I realize I suck at taking pictures in my phone some of them are going to be blurry, sorry!]




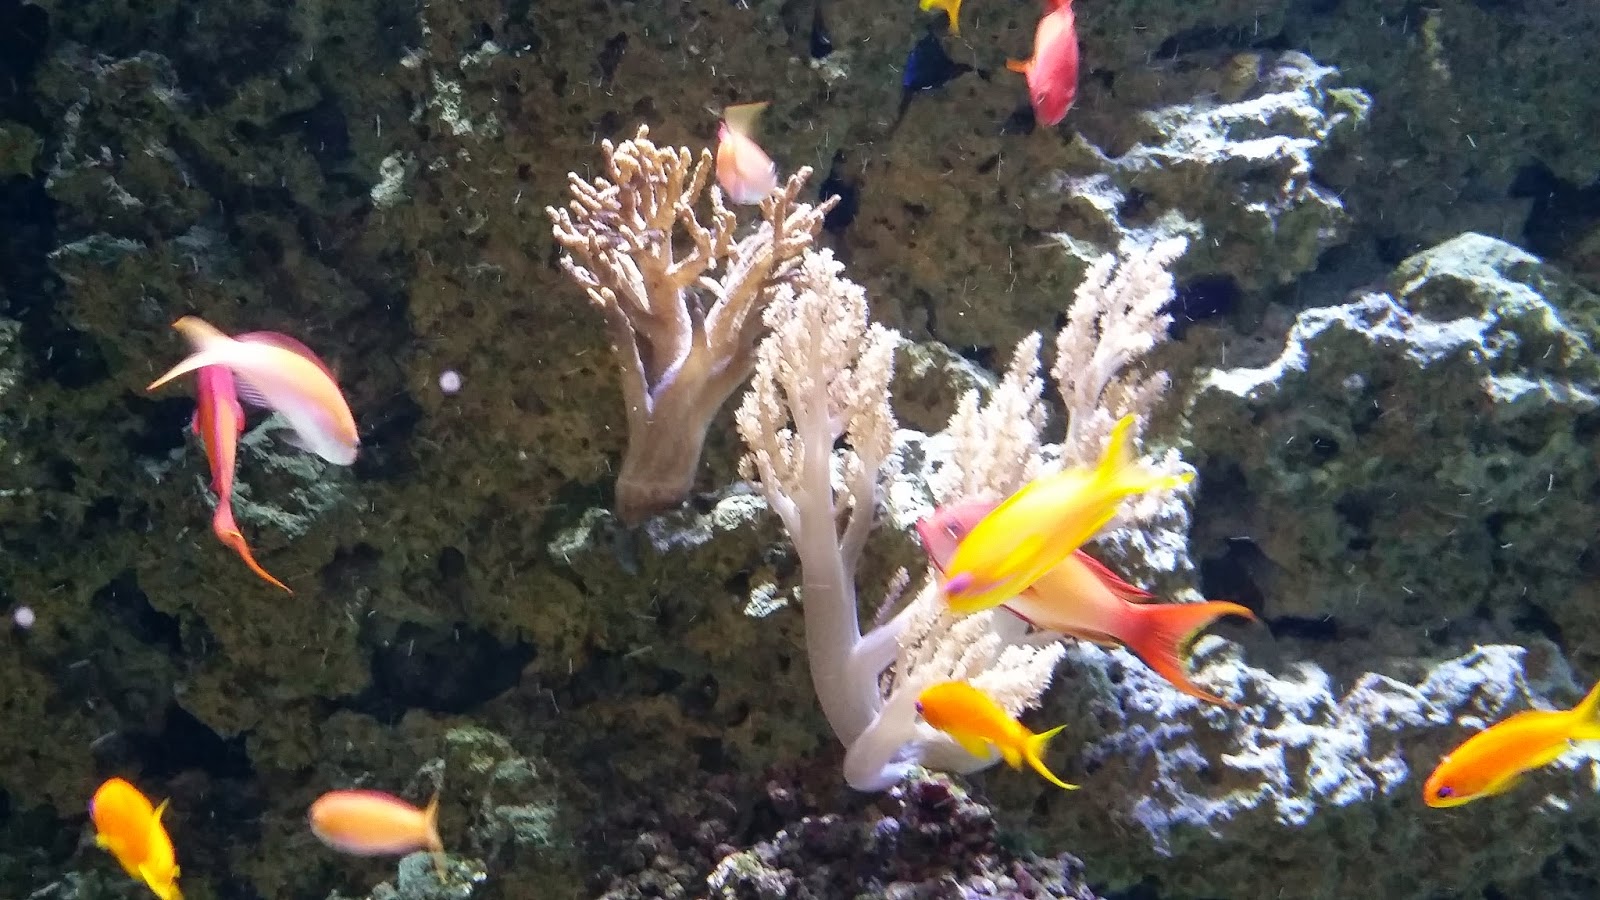
○The Aquarium Life○
[So, I realize I suck at taking pictures in my phone some of them are going to be blurry, sorry!]




Hopefully this nail tutorial inspired or helped you create a similar design. If you don't want to use salt, you can definitely use sugar as a substitute, it will still create the same effect. Although, for me, I tend to stay away from sugar, just in case it attracts insects (yuck).
Also on another completely different topic, I cut my hair shorter! :A: it's been years since I cut it short, since I do like my length and I can style my long hair into more styles.

On a plus side though, the length is perfect, since it's getting a lot warmer, here, in Vancouver. As well, I don't need to wait as long for my hair to dry and even better, my haircut only cost $7 since I got it cut by a student hairdresser. ヾ(。◕ฺ∀◕ฺ)ノ
Anyways, I will stop rambling and I'm hoping to put out more reviews during this month because I know made promises that I would do so, and plus, I have some new products that I've been dying to tryout.
Thanks for reading,
Courtney ♡